
Well, hello there. A week went by relatively quickly, huh. Time flies, they say. This week, we will continue the last part of the series about the Ecobee smart thermostat. Let’s get to it now, shall we?
Pairing the smart sensor
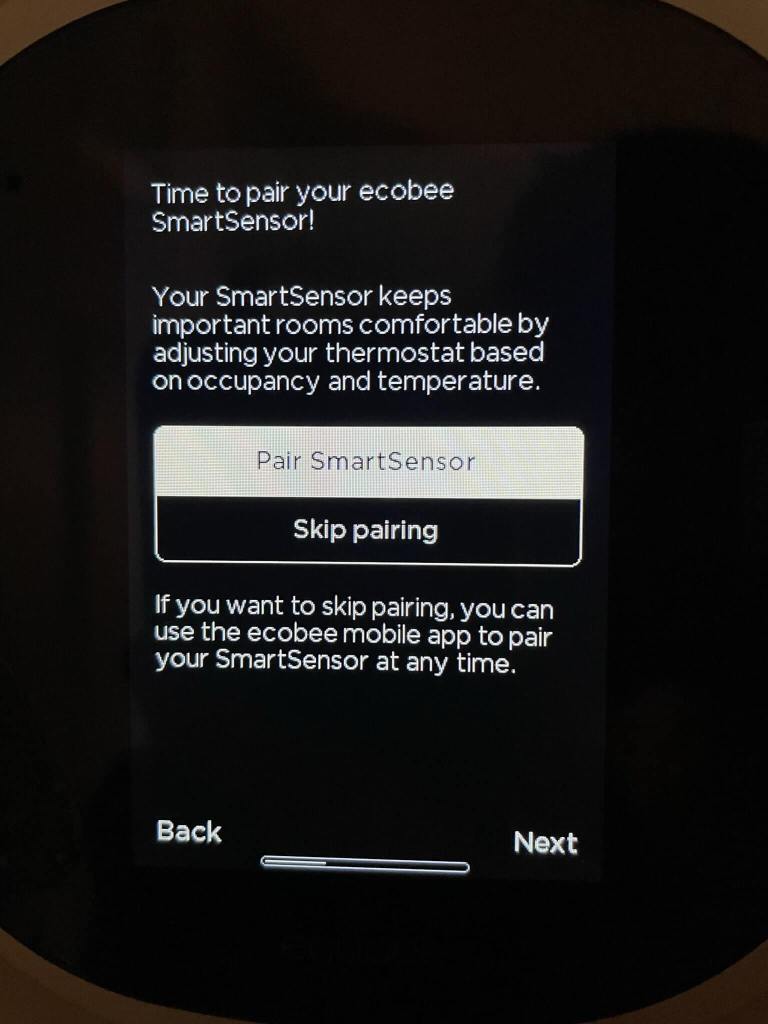
The thermostat I bought came with an additional smart sensor. You know the tiny thing in the picture with the main unit? At first, I was not too sure what it does, but now I do. This smart sensor is a satellite sensor connected with your main unit to give you better information about the home’s current heating. So usually, you want to place this sensor in some room to monitor the temperature. By having the sensor there, you can set it so that the HVAC will try to keep the desired climate setting for your room. It is suitable for more accurate temperature from room to room rather than relying on the central unit. This smart sensor also doubles as an occupancy sensor (we can do automation with this), albeit a somewhat underwhelming one, in my opinion, as it doesn’t do this as well as other sensors that design specifically for the purpose. This is a cherry on top beggar can’t be chooser, am I right? 🤷♂️
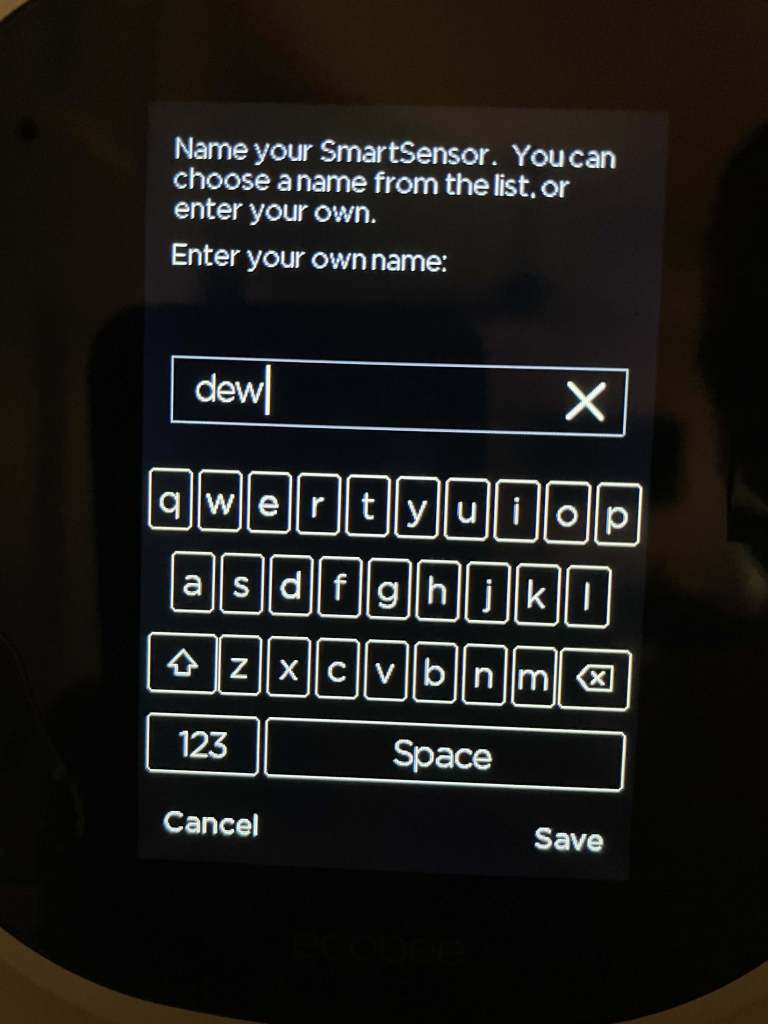
Right, pick up where we left off from the last post. We will be required to pair our sensors. There is a pull tab in the sensor to power it on. It would be best if you didn’t miss it. Follow the prompt on the unit and proceed.

Configure Wi-Fi

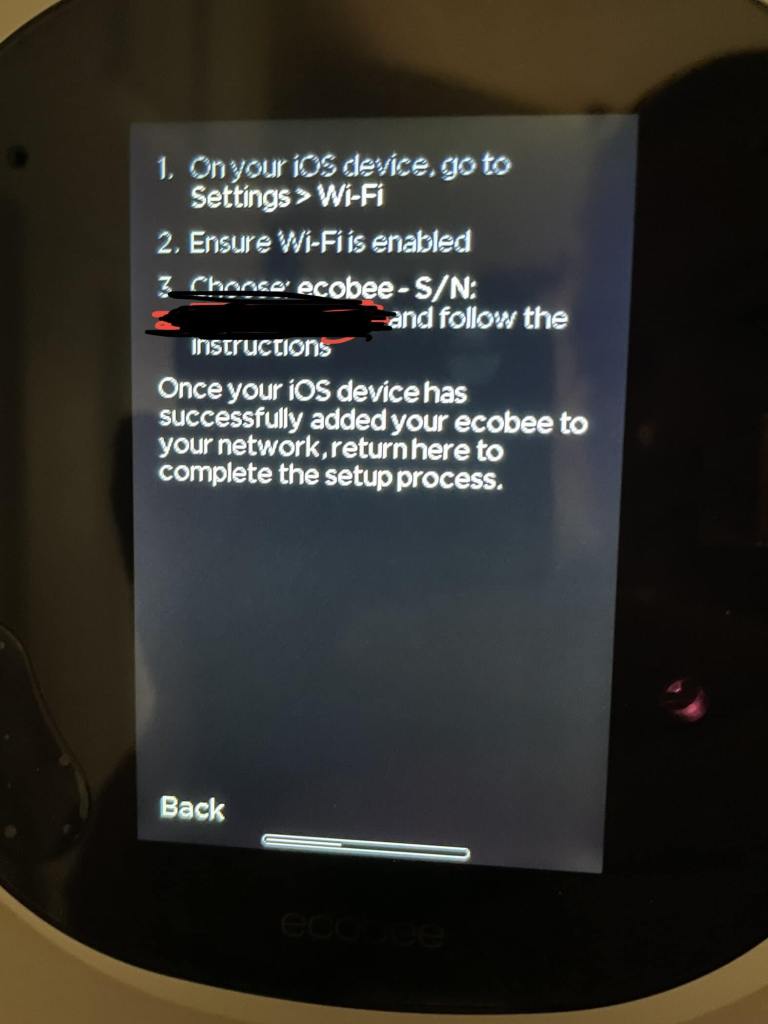

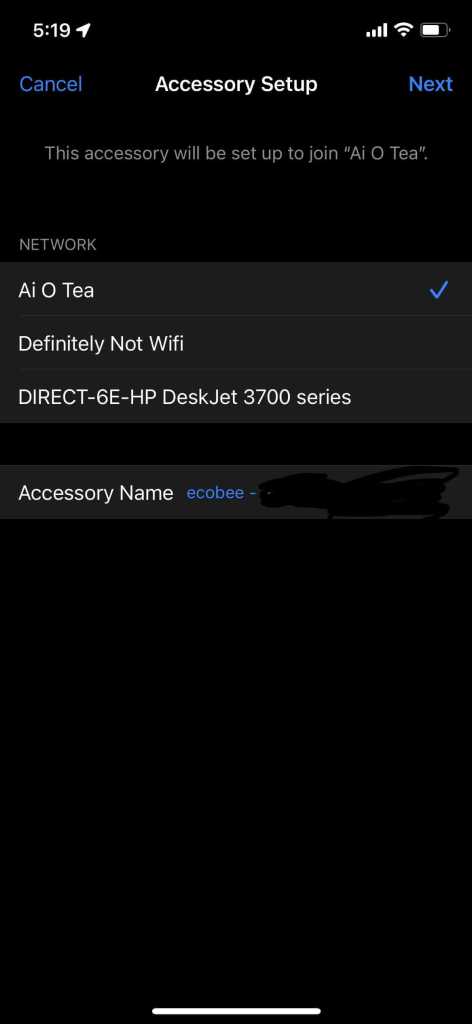


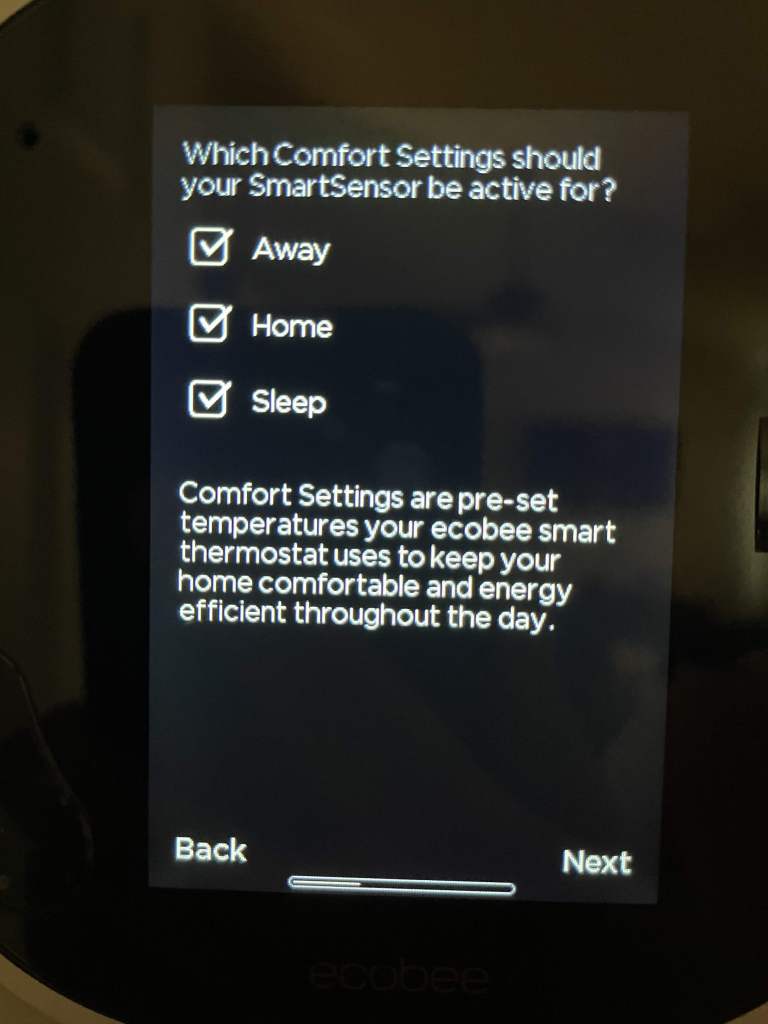
Finishing touch


What do you think? The process of installing and configuring is simple enough, right? (Enough to milk 4 weeks’ worth of post 😈). This is how I set up mine, and you do you. As long as it worked in the end, then nothing matters. That is all folk. Now I have to figure out what I want to write for next week. Until next time.
-Laz
4 responses to “Smart home misadventures : Ecobee Smart Thermostat. Part 4”
Your point of view caught my eye and was very interesting. Thanks. I have a question for you.
Your point of view caught my eye and was very interesting. Thanks. I have a question for you.
Your article helped me a lot, is there any more related content? Thanks! https://www.binance.info/es/register?ref=RQUR4BEO
Thanks for sharing. I read many of your blog posts, cool, your blog is very good.