Smart home misadventure: Eufy battery-powered video doorbell. Part 3
Hello there, just checking to make sure it has not been very long since the last post 😁. This time around, we will wrap up for series for this Eufy video doorbell. Ready? Let’s go
First and foremost, I assumed that you already have Homebase 2 set up, or else this WILL NOT WORK.
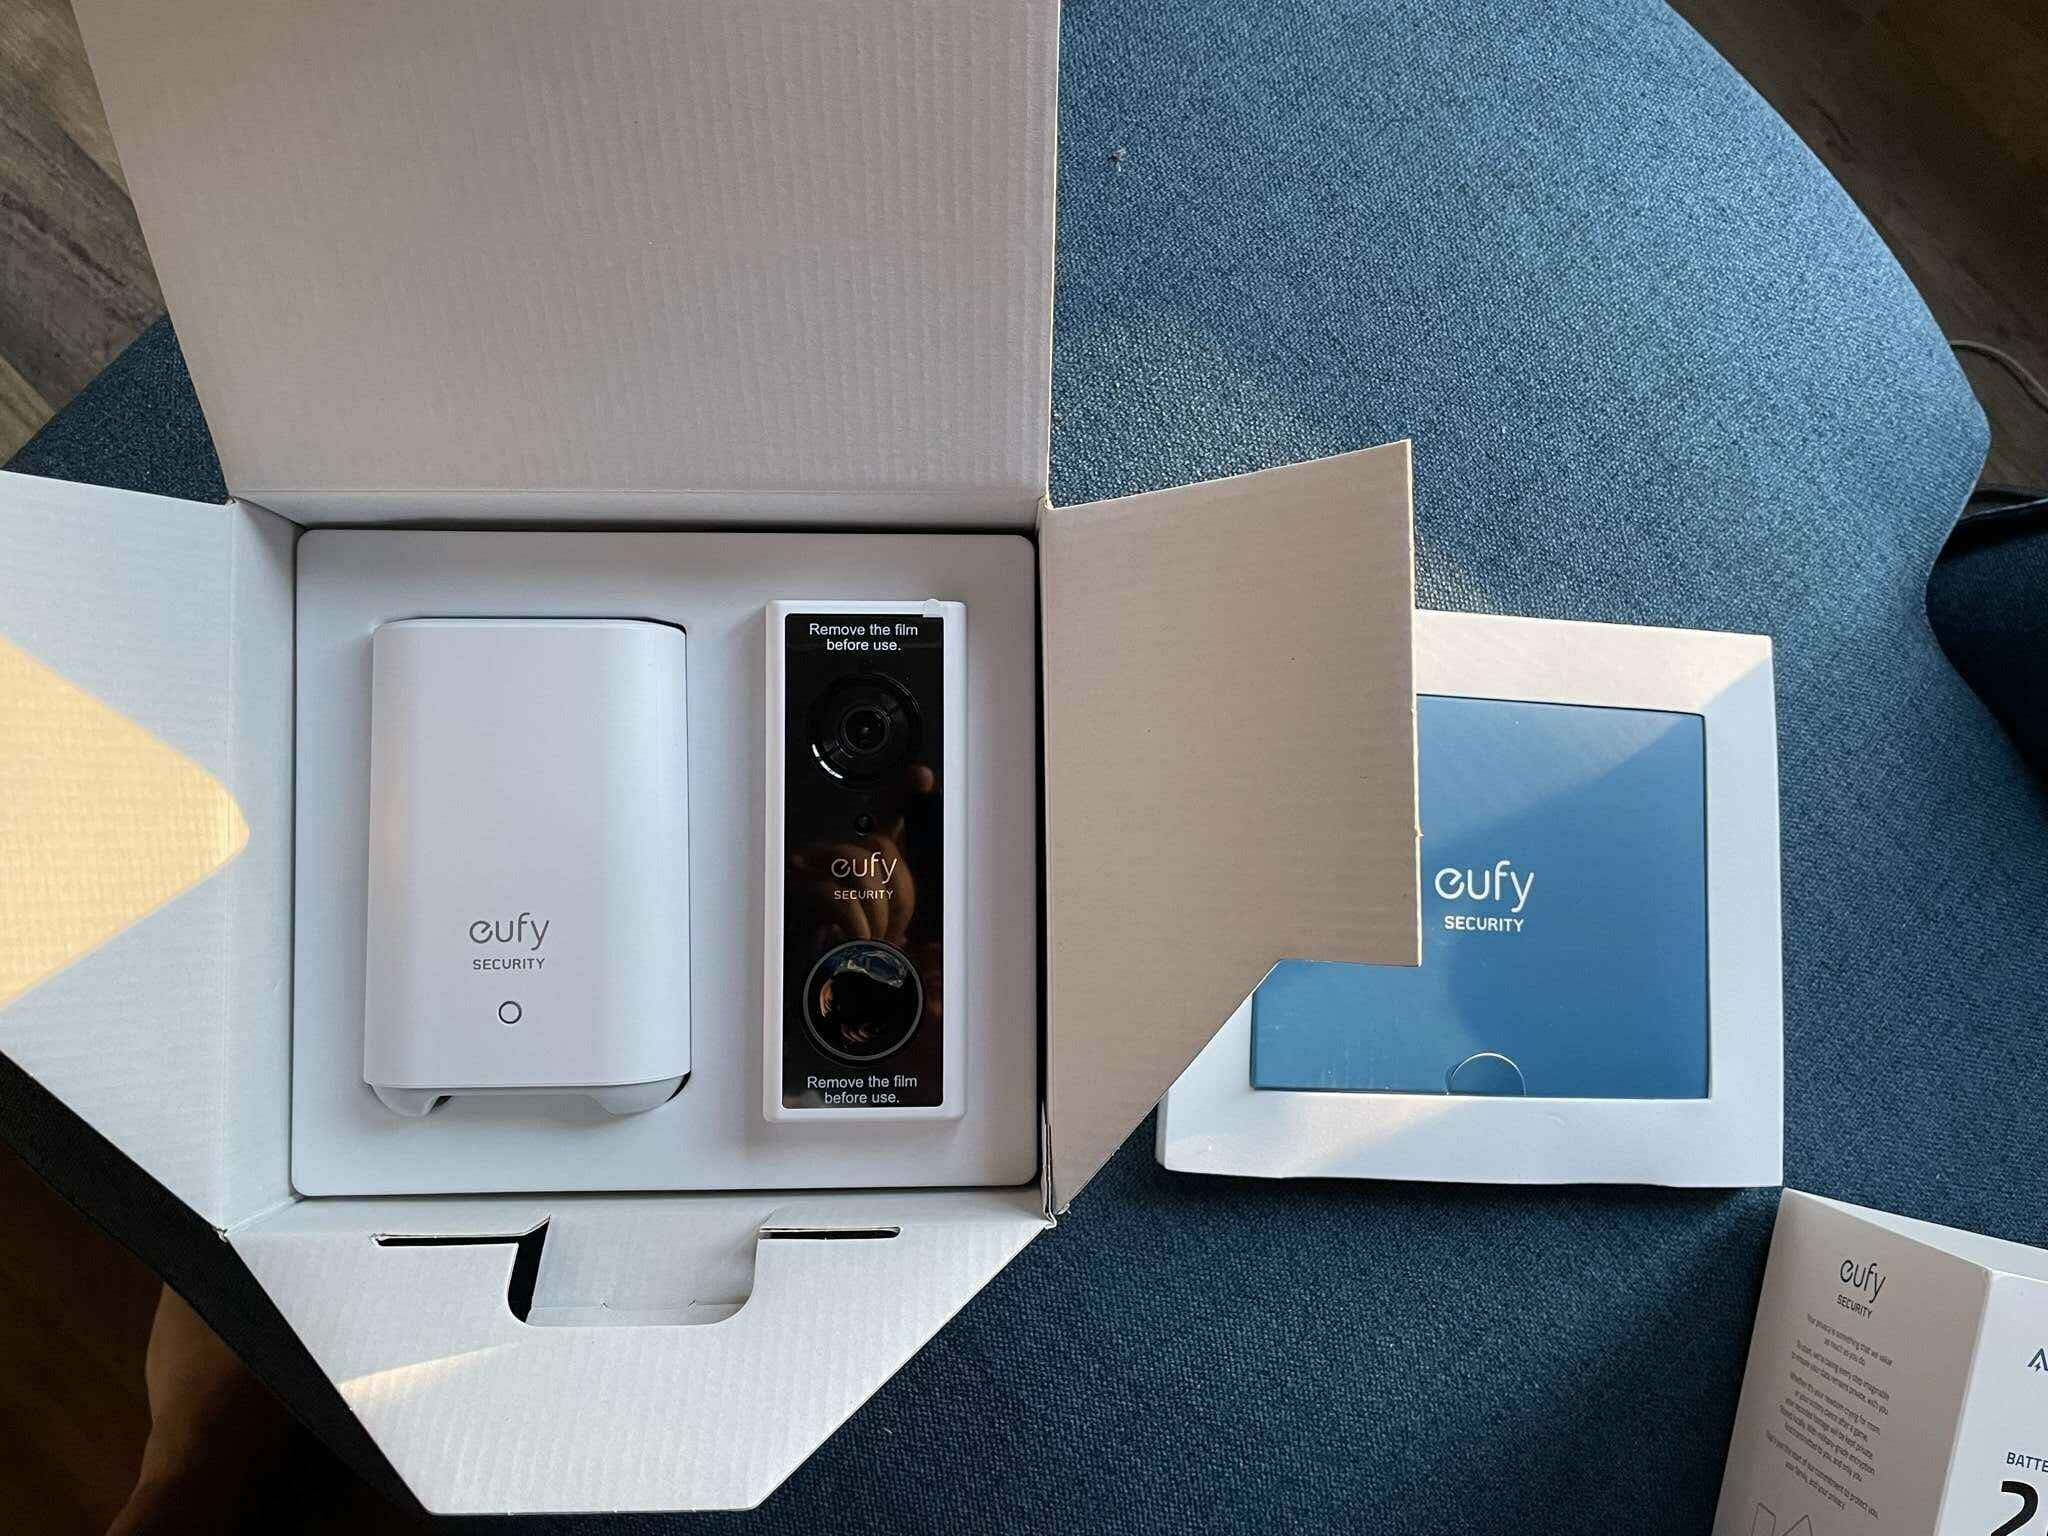
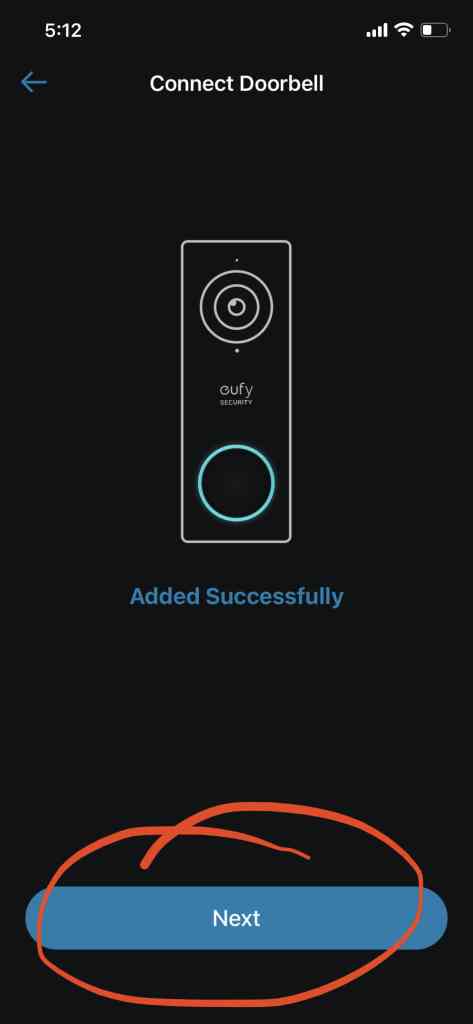
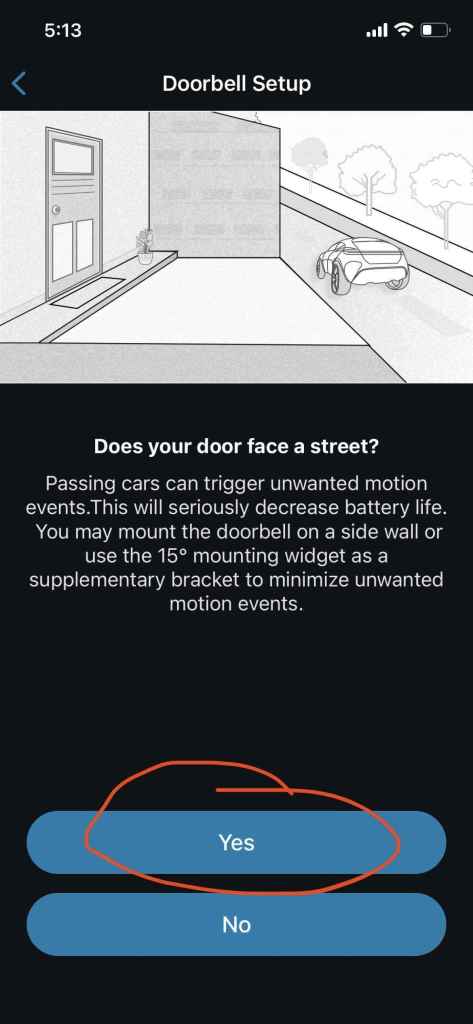
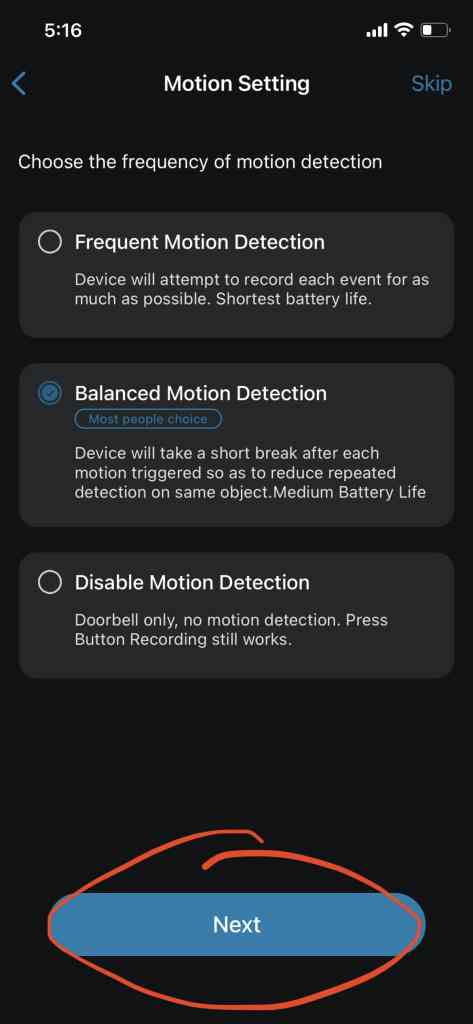
Navigate to the Eufy app and select (+).This is a battery-powered doorbell, so we will pick battery-powered. Though I’m sure, the setup process is pretty much the same for other doorbells (as long as you have them mounted and powered).On the back of the doorbell unit, there is a SYNC button. Bring the doorbell near the Homebase 2 (just in case). Then press and hold SYNC until you hear a peep sound; it is actually pretty loud, so you won’t miss it.Once the device is found, it will play some weird sound, a little trippy if you ask me, but hey, it is what it is. Just have to wait until it is completed.You should see the prompt once the device is successfully added to Homebase. If not, well, you know what they say, try and try and try again. 😂There are 2 options, either use the existing doorbell wire to power the device and ring the chime or if you are like me, that is too troublesome and settle for the battery-powered instead. I need to recharge the battery once every 4-5 months, but it is a trade-off I am willing to take for ease of installation and not bothering with running cables 🤷♂️I will be installing my doorbell to my front door, and yes, it does face the street, so yes.Choose the appropriate option depending on how long your lawn/porch is. Since my porch is relatively short, but my lawn was on the same level and extended, I picked longer to increase my detection range.Balance is the best of both worlds (though you might have different needs).No family or friends, so skip😈The mounting bracket should be simple to install; 2 screws hold to the top and bottom. I also use the 15-degree angle to point the doorbell to the left since the right side is a wall for my case. If you have an open porch, don’t use the 15-degree angle pivot. Also, using the 2 screws anchors that came with the box was not necessary. All you need is a smaller bit drill and pre-drill the holes for the screw. Then use the screwdriver to make it fit snuggly. Whatever works for you, I guess.
Before deciding the mounting bracket’s location, look through the doorbell camera feeds so that you know what the video feed would be like and adjust the mounting bracket accordingly.
Once you have secured the mounting bracket, make sure the doorbell battery is full so charge it. Then all it takes is to line up with the mounting bracket, which should snap into place. To be specific, line up the top, then press the bottom.
There should be a little hole under the mounting bracket to remove the doorbell for future maintenance. Pushing the hole will release the latch, removing the doorbell from the bracket. A pin is included in the box, so you can use it to remove the doorbell from the mounting bracket, but a Simcard remover or something like that would also work.
Intergrate the doorlock with doorbell
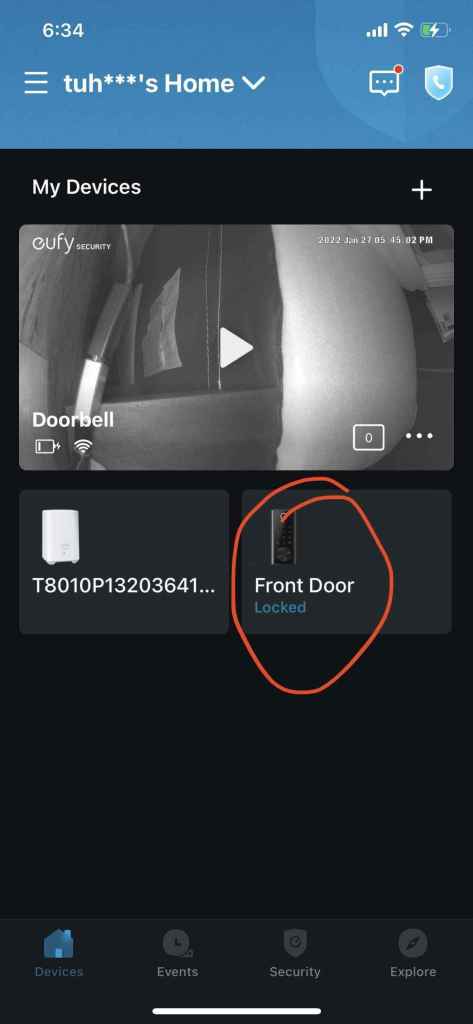
Since I’m using the Eufy products for my home, they have a few integrations to make things more convenient to use. So, for example. This integration will allow me to unlock/lock the door from the doorbell screen (saving like 2-3 seconds of backtracking, selecting the door lock, and hitting unlock 🤷♂️ ). I mean, it isn’t much, but the quality of life is still a quality of life, and I’m not complaining.
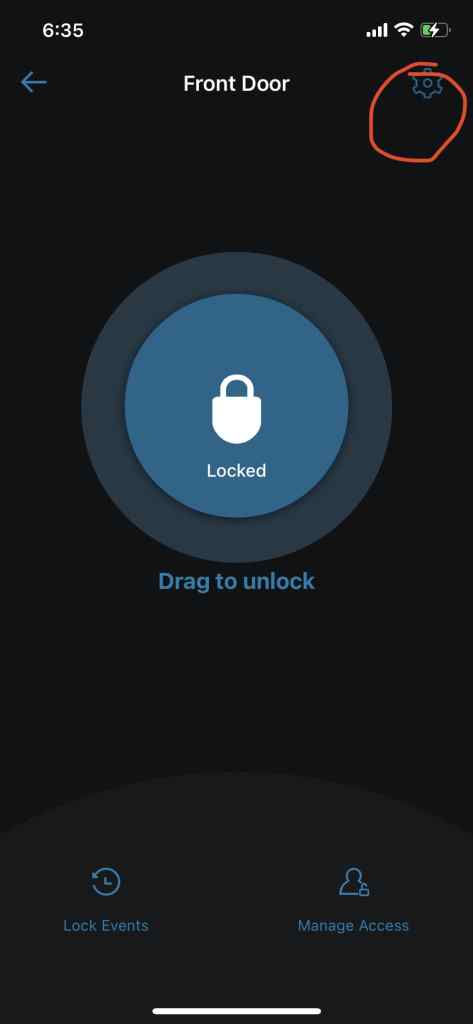
First, select the Eufy doorlockTab on the gear icon to get to the setting of the door lock.There will be an option to integrate with the doorbell. And we are done. What? Do you expect more? Oh well, too bad it is just that simple 😜
This is the end of the series about Eufy’s doorbell. What shall I write about next? Who knows, whatever I feel like it then…I mean, it is a mystery for you to guess 😅. Until next time.
Thank you for your sharing. I am worried that I lack creative ideas. It is your article that makes me full of hope. Thank you. But, I have a question, can you help me?


7 responses to “Smart home misadventure: Eufy battery-powered video doorbell. Part 3”
Thanks for sharing. I read many of your blog posts, cool, your blog is very good. https://accounts.binance.info/hu/register-person?ref=IQY5TET4
I don’t think the title of your article matches the content lol. Just kidding, mainly because I had some doubts after reading the article. https://www.binance.info/cs/register?ref=OMM3XK51
Thank you for your sharing. I am worried that I lack creative ideas. It is your article that makes me full of hope. Thank you. But, I have a question, can you help me?
Can you be more specific about the content of your article? After reading it, I still have some doubts. Hope you can help me. https://accounts.binance.com/register-person?ref=IHJUI7TF
Your point of view caught my eye and was very interesting. Thanks. I have a question for you.
Your article helped me a lot, is there any more related content? Thanks! https://www.binance.info/fr-AF/register?ref=JHQQKNKN
Thanks for sharing. I read many of your blog posts, cool, your blog is very good.