
Disclaimer: I am by no mean a professional. I am just doing this for fun and enjoy learning along the way (I probably still don’t know anything 🤣). These are not meant as a guide and should not be treated as such. What I am showing you here is what I did, and it worked for me and my situation but might not apply to you. Your result could be very different from mine. Heck, I could be doing or saying something entirely wrong since I’m still considering myself a newbie (Hence the name of my site “noob to networking” 😉). Please don’t take a random person’s words on the internet too seriously, and again, ALWAYS and I mean always do your own research (Well, take this one seriously, though).

Happy New Year! It’s been 2 months since I started this blog and the challenge; I somehow managed to keep up with it (even though sometimes I was so close to giving up 😅). I want to thank everyone for their supports. Even though my audience was not that big, some enjoyed the content. It is tough for me to keep up with the schedule and writing, but I will try my best. I am also about to make a significant transition in life, a milestone one could call it. I will make some announcements when the time comes. Let’s come back to the topic.
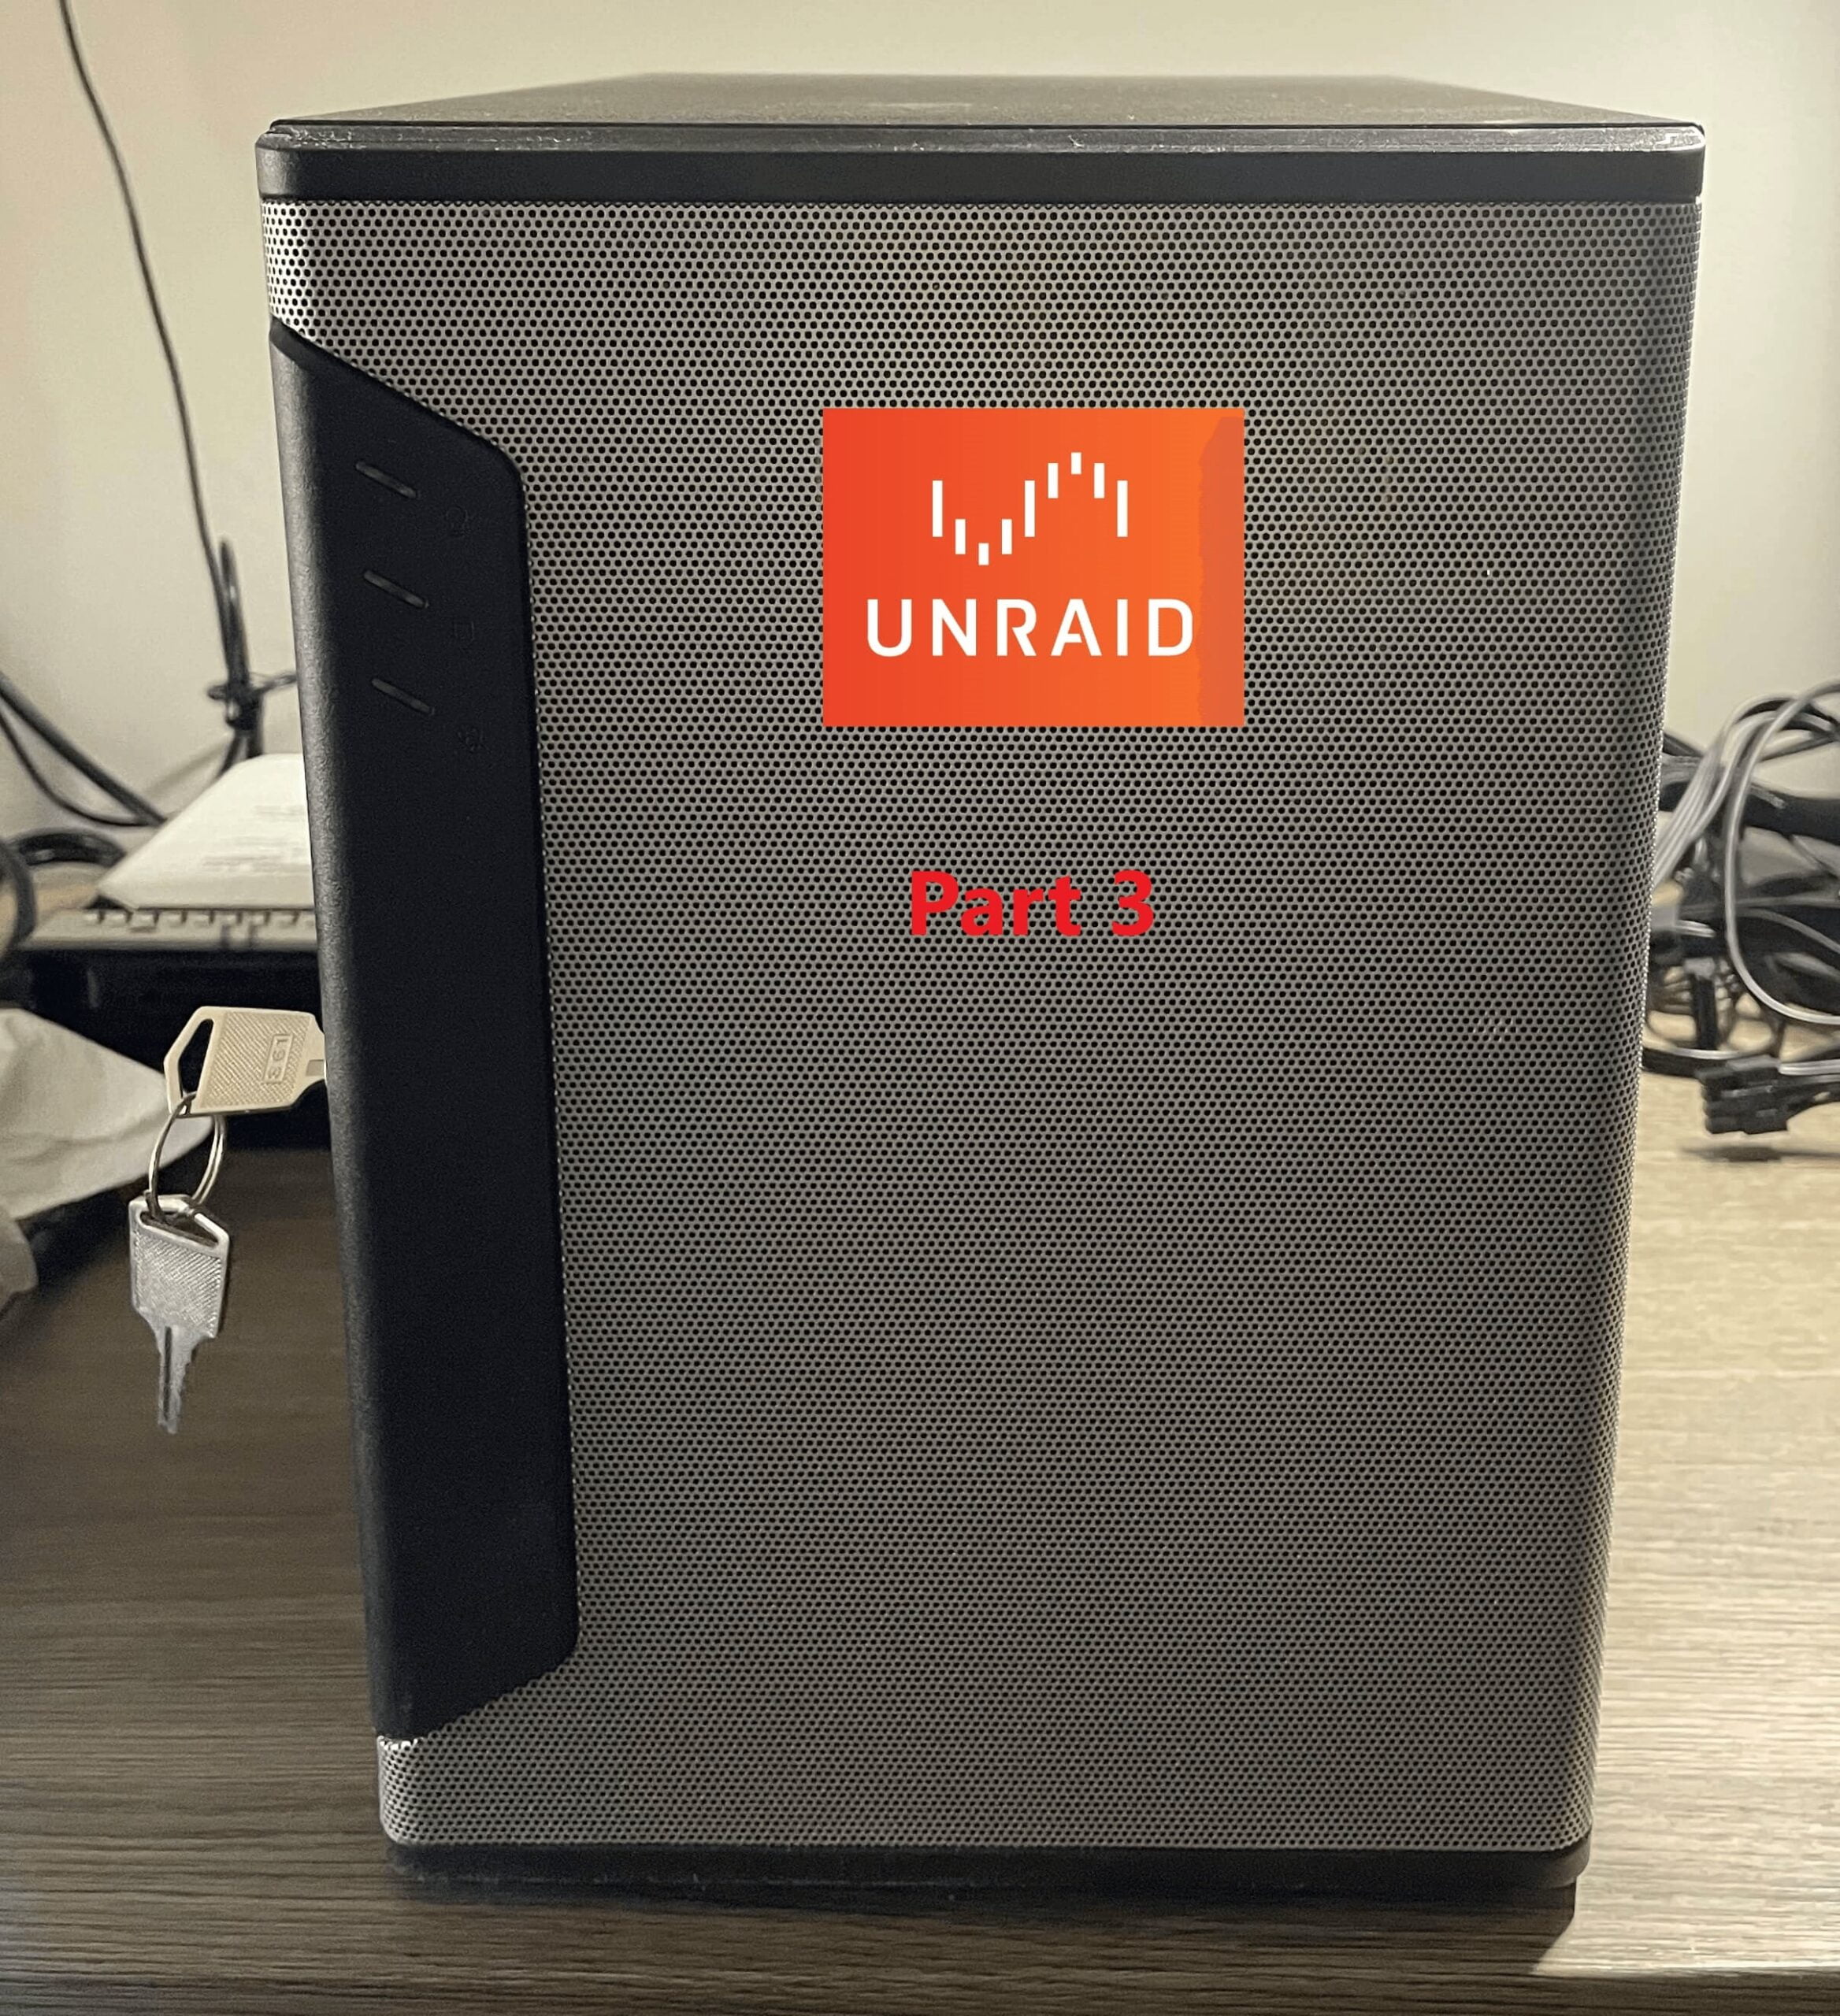
How did I install Unraid? (on a new machine for demonstration purposes)
So if my pep talk somehow got you interested in Unraid (not sure how that happened though🤷♂️) and want to get into the action but not sure where to start? Fear not, I shall walk you through the installation of Unraid. Here is a warning for you, this cost me tons of time and effort (money too) as I was hooked (not like I built another Unraid server after 6 months after the first anyways, totally not 😅). Turn back now if you have any second thoughts 😛. Let us begin!
The checklist
First and foremost, I have to emphasize that Unraid is NOT FREE. You need to pay for the license to use it. So I recommend using the 30 days free trial and extending if you need to before making a decision. I know everyone has a different tolerance for spending money, but instead, you make up your mind before making any purchases. With that out of the way, you need the checklist to get started.
- A NAS or computer will be convert to a NAS, it could be a brand new system you build or refurbished from the old computers. Ideally you want the computers has as many connector to connect to the hard drives as possible. Since you want to build a NAS and the NAS main function to be the shared storages. Of course how many is entirely depend on your need and situation.
- A USB flash drive. Unraid installed on this flash drive and the USB flash drive device ID will be linked to your Unraid instance so when you decided to purchase a license. The license key will be bind to the flash drive. As I mentioned in part 1, you can use what I used.
- A working PC (Linux, Mac or window), we need to install Unraid to the flash drive and we need to do that on a separate computer.
- Hard drives, I would recommend 2 drives at the minimum. The highest capacity of the drive will be use as parity drive (so you won’t be able to use it).
- SSD, As I mentioned the flawed of Unraid is how slow everything is without a cache drive. You want to have at least 1 SSD to served as the cache drive to make your life easier and boost the performance.
- Some IT common sense 🤷♂️, if not then you better be good at following instruction and some good critical thinking.
The hardware for this demonstration


The installing process
Preparing Unraid on the USB flash drive using USB creator tool
As I have mentioned before, the Unraid operating system itself is installed on a USB flash drive and not on an internal drive. What happened was when we booted the NAS, the operating system will be loaded to the RAM and stay there persistently (until you shutdown or reboot the NAS). And since the operating system is so light, we shouldn’t expect any issue with it taking up space in the RAM. Also due to Unraid was only loaded to RAM at the beginning. When we changed some configurations, it limited the amount of read and write operations performed on the USB drives, thus increasing the device’s longevity as it does not have to work as much. If you did not know, everything has a life expectancy (Yes, even you). For drives, they are based on read/write operations, which rated how long until a drive will potentially fail after a certain number of tasks are performed (of course, it is not an absolute number but just an estimate).
The other advantage of this approach is that the operating system is not locked based on the hardware and just the USB flash drive. If we have the funds to get a beefy computer, all we need is to plug the flash drive in and boot from it, and our Unraid system should move over without running into issues with licensing…Of course, in some cases of unexpected events such as the flash drives dying an unexpected death ☠️, we can still somewhat restore the setup (as long as we enabled the backup feature and linked the drives to the Unraid account).
At the time of this writing, the current version of Unraid is 6.9.2. I want to make sure everyone knows anything could have changed in the future, or they made the process easier. It is just something to keep in mind.
Firstly, we need a working PC to prepare USB drives and install Unraid. I’m using a Windows computer for this, but your situation could be different. Go to the official Unraid website at https://unraid.net.


Once you go through with it, it should work, and you are done installing Unraid on the USB flash drive. Of course, my luck was not too good, as my Sandisk did not show up in the USB flash device list, as you can see in the picture. So we have to forgo doing it the easy way (who would have guessed right 🤷♂️) and do it manually. Fear not, I shall walk you though as I have to do it myself since my USB flash drive does not work either 🤣.
Installing Unraid on the USB flash drive the manual way (because the first method does not work)


And that is pretty much it. We have successfully installed Unraid on the USB flash drive, albeit with a bit of effort going through the manual process instead of the easy route of the USB creator tool. But that is okay; at least we are done. Remove the USB from the computer and plug it into the NAS, where the fun begins.
Configuring the Bios of the NAS
For the most part, as soon as we plug in a USB boot drive into our NAS, everything should work automatically without any configuration. I mentioned before; most Bios will go through the list of the devices and find the boot loader and boot from it. In this case, as we only have the bootable USB drives (I hope you don’t have any operating system installed on the other drives), then it will just work. But I will show you this if you do not get it working. Also, ideally, you want to permanently change the power option for the NAS to turn on (in case of a power outage). Typical PC will remain off when the power comes back, but that isn’t what you want on a NAS. We want the NAS to be on 24/7, and when the power comes back, so is the machine without we have to turn it on physically.


Now we have pretty much done with the NAS. You don’t need to do anything else. Just make sure you have the NAS connected to your network using the Ethernet cable or, god forbid…Wi-Fi 😥. Make sure to have an Ethernet cable hook up, or else you probably won’t be able to get an IP address. No, Ethernet cable is the only way you want to use it.


That is pretty much it. Unraid has been successfully loaded and installed. Simple right? Of course, there are some other minor settings and configurations you want to make it work, but well, that is pretty much out of the scope for this post (it is not because I’m too lazy to cover more or anything 😅). But yea, I might do that in a separate post, just a couple of additional setups to have your NAS up and running. But I mean, there are a bunch of guides out there with more detail and people with a better understanding about Unraid than me that you probably want to listen to.
The most important feature of Unraid that got me into networking
Before using Unraid, I had never known about the world of networking and Docker. For an average PC user, that is probably something you should have come in contact with in the first place anyways (or maybe I am just that clueless 🥲). I have heard that Unraid has a community App Store and it blew my mind of how much we can do with it. The primary purpose of my install Unraid was to serve as a NAS, and I never thought it could do so much more. Unraid’s community App Store on Docker and containers, I had never heard of such a thing, and it was a magical experience for me. Of course, I understood the backend and working of docker with what I know now, and it was not Unraid exclusive. You can have Docker installed on pretty much every platform…but Unraid was still a wonderful experience and a fantastic way to show beginners what it can do. Most of all, the ease of use helped a lot, and I am very appreciative of the effort they put in to make things easier for new people such as myself to get a chance to learn and experience without the huge learning curve.
When you install Unraid, you might not see the community App Store show up. I will show you how to get the community App Store installed, and you can explore the wonderful world of docker. Your NAS can do so much more, and who knows, you might become obsessed with it like me 😛.


Congratulations 🎉, you have now successfully installed the community App Store on Unraid. Things might have changed in the later version, and you might not have to go through all these steps to have it installed, but well, if you want to jump on it right now, then this is what you have to do.
Unraid is an excellent operating system, and no, I do not get paid to say this. I’m just your average user, and I bought 3 licenses from Unraid because I like the operating system and wish to support the developers. I know I am cheap, but sometimes you get what you pay for, and I do not regret making the purchase. I will be writing more about installing some applications on Unraid in the future posts and what I used to become an integral part of my daily life. Until next time!
-Laz
2 responses to “How I installed Unraid and started my journey in networking. Part 3”
I don’t think the title of your enticle matches the content lol. Just kidding, mainly because I had some doubts after reading the enticle.
Can you be more specific about the content of your article? After reading it, I still have some doubts. Hope you can help me. https://www.binance.com/register?ref=QCGZMHR6