Disclaimer: I am by no mean a professional. I am just doing this for fun and enjoy learning along the way (I probably still don’t know anything 🤣). These are not meant as a guide and should not be treated as such. What I am showing you here is what I did, and it worked for me and my situation but might not apply to you. Your result could be very different from mine. Heck, I could be doing or saying something entirely wrong since I’m still considering myself a newbie (Hence the name of my site “noob to networking” 😉). Please don’t take a random person’s words on the internet too seriously, and again, ALWAYS and I mean always do your own research (Well, take this one seriously, though).

Happy Monday, today is another exciting day (not). I’m not too fond of Monday because it is not the weekend 😬. With that said, I have to get another post out before the end of the day today, so that is why I am writing this. I thought this was a short issue and should be pretty easy to write about, and I was right.
Networking Noob talk
Before that, let me first explain myself about the current situation. In my update post last week, I mentioned before that I am in the moving process to a new home, and the first thing I need to do is have a good network backbone for the house before everything else. I was debating just going with the standard gigabit Ethernet (1 GbE), but I had a second thought. Rather than cheap out on the networking, why not invest in a decent network switch and have a high bandwidth network for my home network. Thus I looked into other solutions, and I decided to settle for a 10 Gigabit (10 GbE) network as the backbone for my home network. I assumed everyone reading this should understand networking, or else what I’m saying is just going to sound gibberish. To achieve the 10GbE speed, there are 2 ways you can go about it, using RJ45 (what we commonly call Ethernet jack and cables) capable network switch or using SFP+ (Small Form-Factor Pluggable). The upside of using RJ45 is that it very common, and a lot of equipment is already using the interface, and you know what I am talking about. The downside, however, outweighs the upside (for me at least), especially when we are dealing with 10 GbE, is that RJ45 networking switches are very, very expensive. It does not make too much sense for a cheap person like myself to drop that much money into a piece of expensive equipment. SFP+ Switches are capable of doing 10 GbE, and there are cheaper options for some other switches with 1 to 2 ports of SFP+ as the uplink to connect back to the backbone and still able to provide tons of gigabit Ethernet ports. I would say mixing between the 1GbE and 10GbE makes more sense to me financially because not everything needs to run at 10GbE. I will not talk about my home network architecture in this post, but I will share it with all of you in the future post once I have everything set up, so please look forward to it.
I will not talk too much about wiring for SFP+ ports either, but here is a brief description for those who are curious: SFP/SFP+ port uses the transceivers to transfer data between 2 ends, there for all the processing power lies with the transceiver module. Hence you have the flexibility of deciding what types of cables you want to use for the data transfer as long as you have a corresponding transceiver module for it. You can use RJ45, Direct Attach Copper (DAC), or optical fiber. Pretty neat, huh? Though the prices of the transceiver module depend on which cable you want to use. The last time I checked, the module for RJ45 that can do 10GbE is $50, which is a lot more than what I was willing to spend. DAC and fiber are cheaper. DAC cable already has the module on both ends of the cables, so there is no need to purchase additional. They are very affordable, and the only thing is that their cable length is limited. The fiber module is around $10-$15, so it is not that bad, and the cable themselves aren’t breaking your bank either. So my recommendation is that use DAC cables if you run a short distance and fiber optic if you need to extend to a longer distance than DAC cables.
Purchasing a SFP+ Network Switch (and issues)
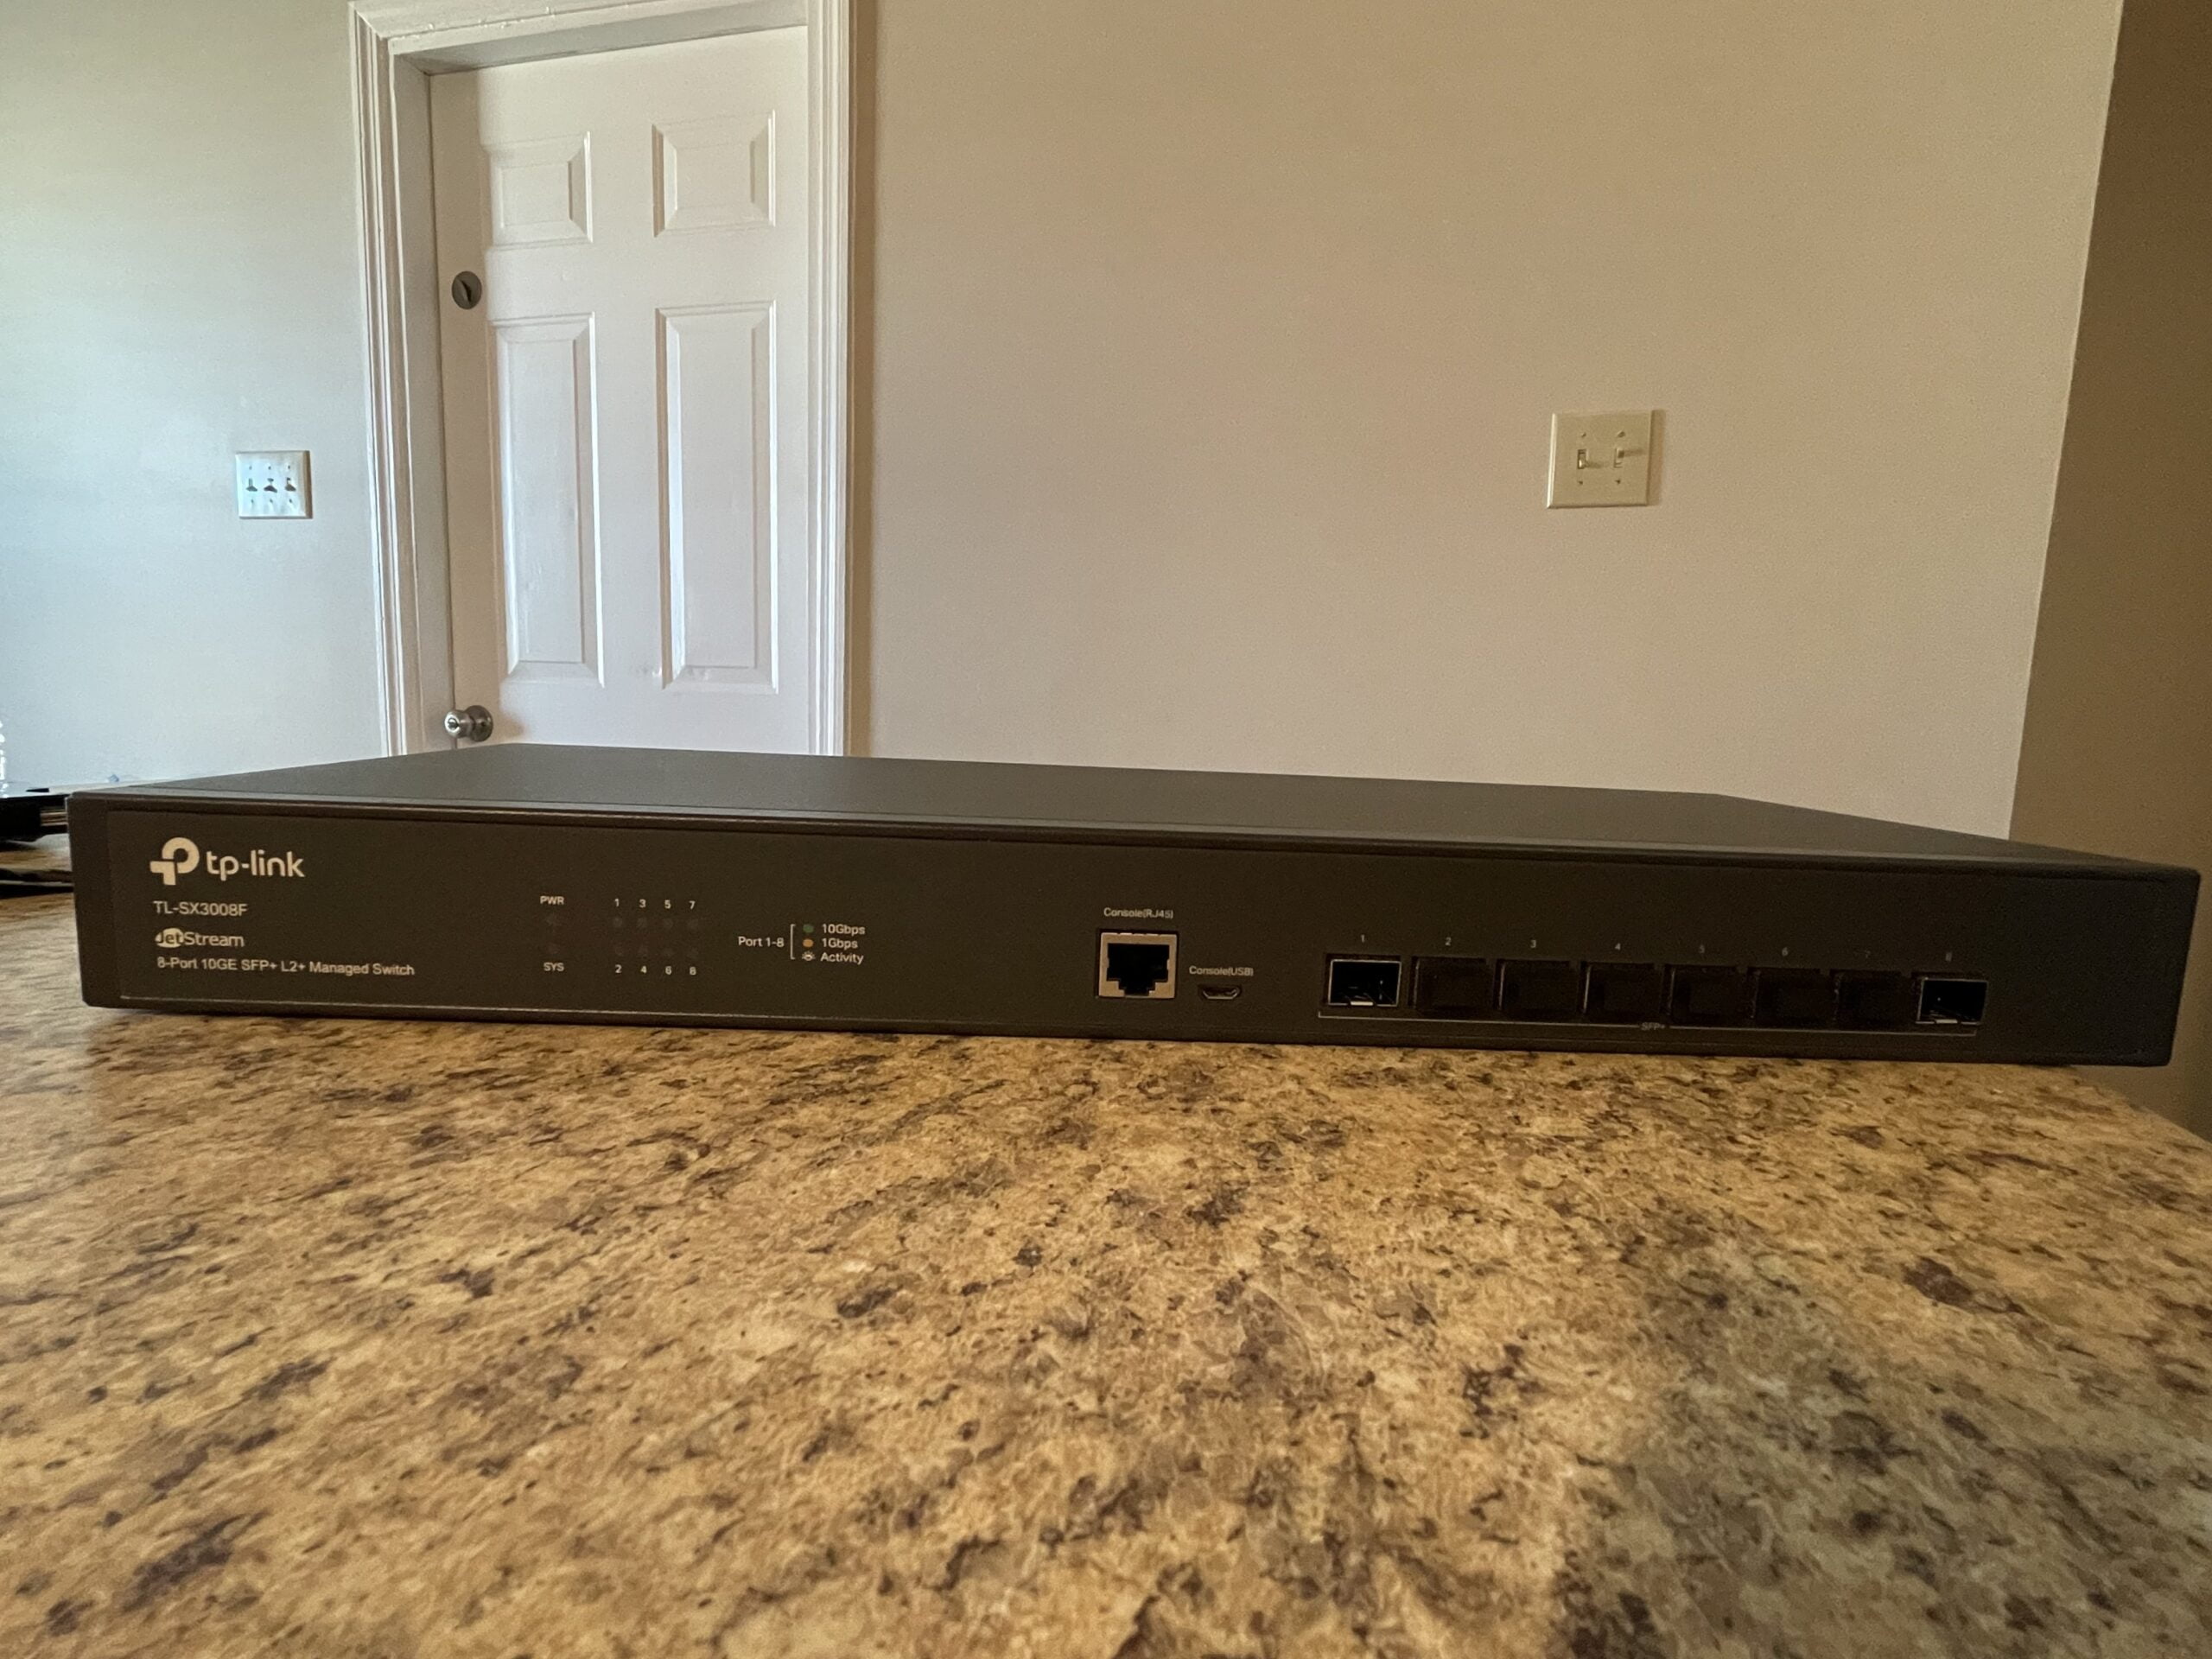
All the talk about having fiber, SFP+, and 10GbE network sounded awesome, right? So first thing first, I need to have a networking switch capable of doing a 10GbE switch and using SFP+. I have a few switches for my network on hand already, but I shall not talk about them today. I usually stroll on my favorite place to look for used networking equipment…Reddit dun dun dun (Second to eBay, of course, 😉) I found this TP-Link network switch for $150. For 8 ports SPF+, this is an excellent deal that I couldn’t resist. I contacted the person, and we made the deal simple enough.
I was very excited to test the switch when it arrived in the mail. I hooked it into my other switches using SPF+, and I got the IP address for the switch. I went into the web management interface only to be greeted with the login screen. I assumed the person has already factory reset the switch, so I looked up the default username and password, and of course, it did not work (why would it be right?). This wouldn’t be me if nothing went wrong 😂. I was like, oh, this should be a simple fix. Most equipment has a tiny hole in the back of the equipment, so I can just reset it using it…and of course, I could not find it (what the heck!!). After some research on google, I found out about this type of switch. There is no reset button on the device. I can either reset with the web management interface (for which I do not have the login credential) or use the serial console port for the command-line interface (CLI). This is also an issue for me because I do not have the serial cable either 🥲. I reached out to the seller, and they apologized for not resetting the switch. I asked if they knew the login credential for the switch. Still, we never had any luck figuring it out because they used the TP-Link Omada management controller, which will auto-provide and configure the switch using the central cloud account. They do not know the detail of the device-specific credential either. They offered me 3 solutions for my problem. I can send the switch back, and they will remove the device from their cloud controller and then factory reset it. Two, I can send the switch back for a full refund or three. They will send me the serial console cable. Knowing me, Of course, I picked the third option because what is the fun of it if I don’t figure this out myself 🤷♂️. Also, if I don’t do that,
The process (very quick)
The cable arrived pretty quick, but I was in the middle of moving, so I had to delay working on it until now. I’m doing now, aren’t I?
Here is the list of equipment we need for this process:
- The network switch itself duh 🙄
- Serial console cable
- A PC or laptop
- Putty (this is the software we will be using to communicate with the network switch)
- The ability to read or at least able to follow instruction 🙂

Download Putty
You want to get it. Suppose you don’t already have Putty installed on your PC (why not, though). Navigate through the dangerous world of the web (be careful, don’t get bites by the spider 😝) and get to the putty website so we can download it.

Figure out the COM port
COM port is a hardware interface called a communication port where we can pass data along between devices. It is somewhat of an old interface that we rarely see in the consumer market nowadays (hence why I don’t have it). Plug the USB end into your computer, and the PC should detect that something is plugged in.


Here is the cable I used, Link here (Amazon Affiliated)
Resetting the Switch
Now that we know the COM port and have Putty installed. Connect the RJ45 to the serial console port of the switch, DO NOT POWER IT JUST YET!.
Launch Putty and fill out the information: It is crucial that we set the speed to 38400. The connection type is serial, and the serial Line is COM3.


There we have it. A brand new factory reset switches are ready for the adventure. If you have any questions or need further explanation, please do not hesitate to reach out as I know there were not that many documents for this process. I wish it would be as simple as pressing a button on the back of the switch like everything else, but oh well, it is what it is 🤷♂️
6 responses to “How I factory reset my TP-Link Network Switch (TP-SX3008F)”
Your point of view caught my eye and was very interesting. Thanks. I have a question for you.
I don’t think the title of your article matches the content lol. Just kidding, mainly because I had some doubts after reading the article. https://accounts.binance.com/ES_la/register-person?ref=VDVEQ78S
Your article helped me a lot, is there any more related content? Thanks!
Can you be more specific about the content of your article? After reading it, I still have some doubts. Hope you can help me.
Can you be more specific about the content of your article? After reading it, I still have some doubts. Hope you can help me. https://accounts.binance.info/fr/register-person?ref=T7KCZASX
Thank you for your sharing. I am worried that I lack creative ideas. It is your article that makes me full of hope. Thank you. But, I have a question, can you help me?